Your cookie preferences


We use cookies and similar technologies. You can use the settings below to accept all cookies (which we recommend to give you the best experience) or to enable specific categories of cookies as explained below. Find out more by reading our Cookie Policy.

Select cookie preferences

Skip to main content

Magnification and Zoom accessibility guide - everything you need to know

Useful accessibility tips on getting the best out of your smartphone.
Share this guide
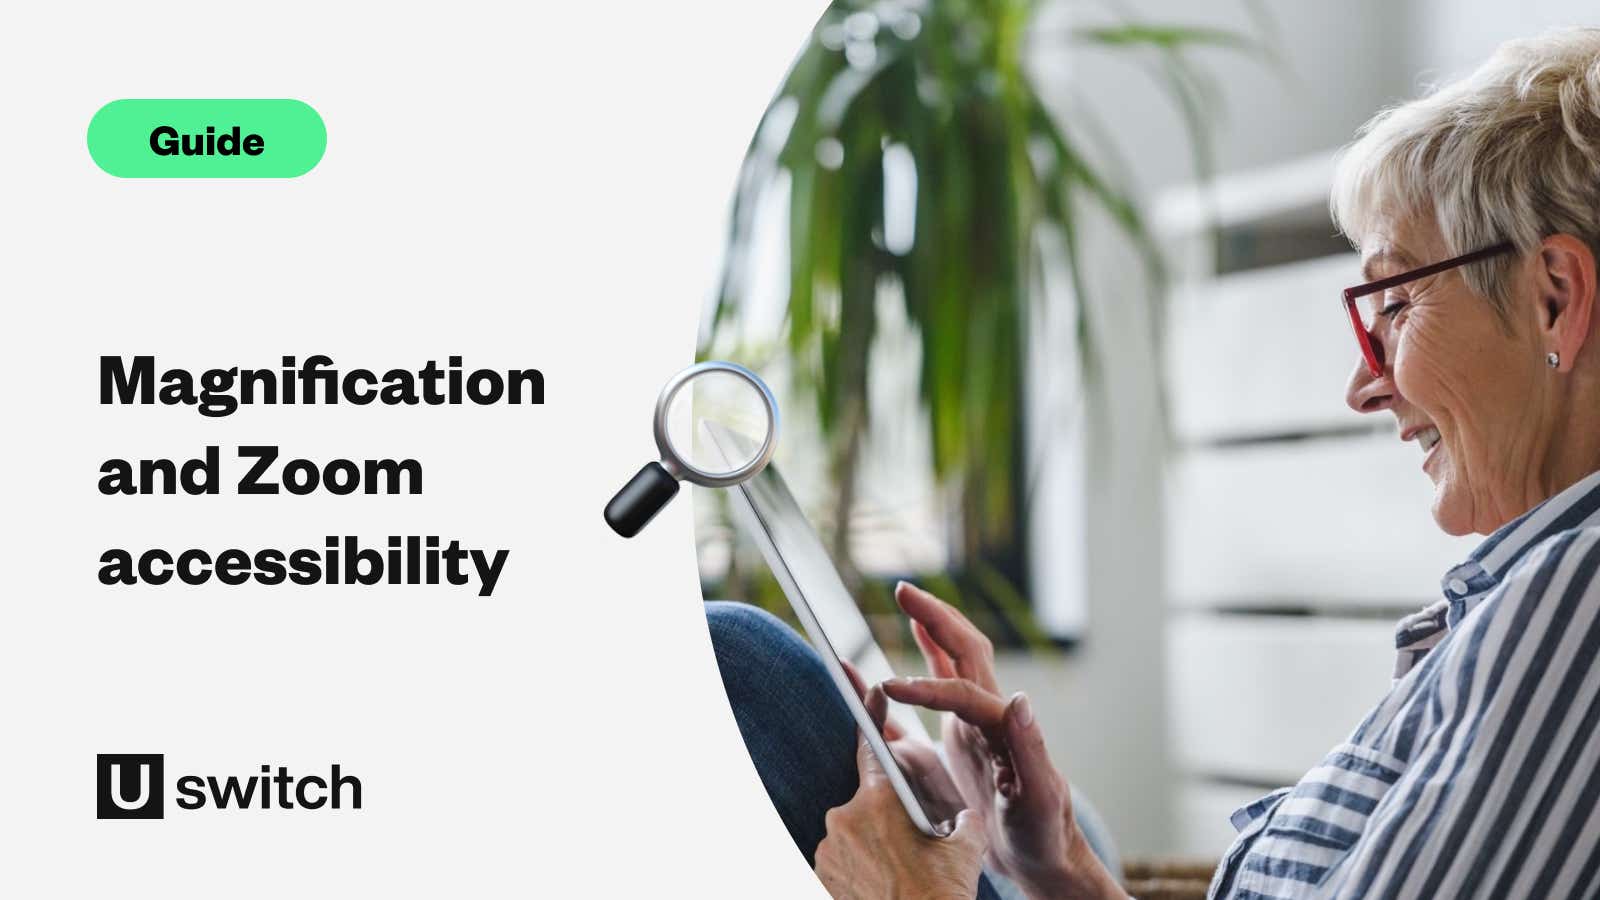
older woman using ipad accessibility zoom magnification

In this guide, we're going take a look at the Magnification and Zoom smartphone accessibility features you'll find on Apple and Android devices. They're there to help people who may have a form of sight loss, or simply need their screen displays to be a bit clearer.

Read on to find out what Magnification and Zoom are, who they can help, and how you can get the best use out of these features.

What are Magnification and Zoom features?

Whether watching a show or reading a good book it’s important that you're able to get the clearest view of what you are looking at.

This is just as true on your mobile phone as it is with your favourite paperback. Phone makers offer an electronic equivalent to help you get a closer look.

Known as Magnification on Android and Zoom on iPhone, the features do what the names suggest. The software magnifies the screen which is intended to help you to see things more clearly.

Who is Magnification and Zoom for?

These tools might be useful to any person who has some form of sight loss.

If you’re looking to read an article or just want a better look at what is on your screen, then magnification will come in handy.

Both Android and Apple offer a magnification type setting. The latter even offers a Magnifier function to view items in the outside world.

If, for example, you are in a room and need to make out a detail in a picture, then the Magnifier feature can be helpful.

You can zoom in and out, alter the brightness, and add a coloured filter.

If you are an iPhone user and want to have elements of the phone screen magnified then you should select Zoom in the Accessibility menu.

While having a Magnification or Zoom option can be a very useful asset to have at your disposal, it may be simpler to use a read aloud app instead.

This avoids the hassle of having to navigate an enlarged page or over taxing your eyes trying to read a passage of text.

If you would prefer to go the audio route you have two options. The first is the phone’s screen reader while the second is a text-to-speech app.

Referred to as TalkBack on Android and VoiceOver on iPhone the option can read aloud everything on screen, from Internet articles to phone battery level. If it’s on screen it almost certainly can be read aloud.

The drawback is that when your phone’s screen reader is switched on it changes the way you use your device. For example, to open apps you tap twice while some basic functions require multi-finger gestures, such as having to swipe with two or three fingers.

This offering might feel a little bit like overkill if all you want is a text or Internet article read aloud. It may also prove difficult for those people who have disabilities which affect the use of their hands.

This is where a good read aloud app can fill the void. IPhone offers a text-to-speech feature pre installed as do many Android phones.

A good rule of thumb is, if text can be copied then it can be read aloud. Using a read aloud app can give you the information you require while foregoing the tedium of having your interface settings changed.

Apple in particular excels in this area with clear and great sounding voices.

A similar Android offering can typically be triggered in the Accessibility section, but if a read aloud option is not available, then we recommend you download T2S Text to Voice-Read Aloud from the Google Play Store.

Then select the text you need, Tap share from the appearing menu, and then choose the app.

We should point out that for this guide we are using a Samsung S20 Ultra, and an iPhone 12 as our example phones. Both are running the latest OS at the time of writing.

While Android phones can operate slightly differently from each other, the settings should still be close enough to be able to offer helpful guidance for getting the most out of the feature.

Setting up Magnification on Android

  • Open your phone’s settings menu.

  • Scroll down to Accessibility and tap it.

  • Next, scroll to your phone’s vision section of Accessibility. It should be listed under something like Visibility enhancements.

  • Tap the option and then choose either Magnifier window (not available on all Android phones) or Magnification. Both will perform a similar function, but differ slightly. More on that below.

Setting up Zoom on iPhone

  • Select the settings app which should be found on the first page of the phone’s home screen.

  • Next choose Accessibility from the settings menu.

  • Choose the Zoom option from the Vision section in Accessibility.

  • Finally, toggle the setting on once on the next screen.

Don’t forget, if you want things on the screen to be magnified you must select Zoom from Accessibility. Alternatively, if you want things to be enhanced for physical environments around you, choose Magnifier from the Accessibility settings.

Once the feature is enabled it will provide an icon on the home screen for you to access the Magnifier.

Magnification on Android: the basics

Depending on your handset you could have two magnification options.

Magnifier Window and Magnification. The Magnifier Window provides a window in which everything is magnified.

The window can be dragged around the screen by placing two fingers on the window and moving it in the intended direction. If you’d like to zoom in or out you can do so by employing a pinch motion either in or out, depending on what you need.

Bear in mind that if your intended text is not in the window then it won’t be magnified.

To change the size of the window you can do so either by selecting the icon on the window itself or by changing its size in the settings. The handset should offer the option to trigger the Magnifier Window via an Accessibility icon at the bottom of your screen.

If your phone is set to use gesture controls, we recommend you switch from the gesture interface to the three-button option which should make it easier for people with disabilities affecting their hand or finger control. The change in setup ads a, home, tabs, and a back button to the bottom of the screen.

If you want to use the gesture interface, then you can. Using our Samsung as an example, once enabled, you can switch the Magnifier Window on or off by swiping two fingers up from the bar at the bottom of the screen. This also applies when using Magnification.

Unfortunately, the Magnifier Window is not available across all Android mobiles.

The second option is Magnification, which magnifies the entire screen when enabled. The feature comes as standard as part of the Android Accessibility suite. Once activated you can trigger the setting by tapping The Accessibility icon at the bottom of your screen.

You should see a box surrounding the screen, tap inside it and everything will be zoomed in. You can move in and out by performing a pinching motion.

Move around the screen by placing two fingers on the screen and moving in the direction that you need to go.

If you choose to use the full Magnification, then be careful not to accidentally toggle settings or open apps. On our test device the mode was easily turned on and off by using the Accessibility icon.

If using this type of shortcut isn’t your cup of tea, then your device should offer an alternative trigger. The Android Accessibility help page indicates that you can use finger gestures, or the volume keys.

Zoom on iPhone: the basics

The Apple offering is very similar to its Android counterparts. There are two options, Full Screen Zoom or Window Zoom.

The former zooms the whole screen in while the latter offers a window. Using the window means that only the things inside the window will be enlarged.

The window can be moved around by touching the small lip on the window and then dragging it where you need.

Alternatively, you can go for the full zoom approach. When this is enabled, we recommend you switch the Zoom Controller on. This is a small movable menu which not only allows you to move around the screen easily, but also provides options such as, increasing or decreasing zoom, adding colour filters and changing Zoom type. Using this menu is far easier and quicker than having to use multi-finger gestures. Choosing between either Zoom type is done in the main Zoom menu, by tapping Zoom Region.

Last but not least, you have the option to use something called Magnifier. When this is switched on an icon appears on the phone’s home screen. It uses the handset’s camera to allow you to zoom in or out on your surroundings, as well as applying filters, and switching on the torch.

Other options include altering the contrast and the brightness. It’s a simple tool that is designed to make it easier for someone to take in the important details of their surroundings.

Don’t forget, once the setting is enabled you will still have to find the shortcut. It should be located on the first screen of the iPhone home page.

smartphone accessibility guide

Smartphone accessibility: a comprehensive guide

Advice on how to use accessibility features on your smartphone to make life a little easier.

Learn more
person using their smartphone outside

Smartphone assistants guide - everything you need to know

How to use your phone without the need for physical buttons or complicated hand gestures.

Learn more

Screen reader accessibility - everything you need to know

Smartphone accessibility continues to improve, and a core component is screen readers. Here's what you need to know.

Learn more
woman wearing a hearing aid using her smartphone

Hearing accessibility guide - everything you need to know

If you have hearing loss, there are a number of smartphone features you can use to make your experience better.

Learn more